The scuff testing procedure causes painted, printed, or polished surfaces to show signs of abrasion resistance. This process can bear the same consequences as man-labored work using a range of contact and dual surface processes.
The process of scuff testing is a cheap procedure and is simple to do with different approaches. The effect on the abrasive substances when applied by an abrasive product is the general practice that is approached to determine its effect on the packaged component’s system or the product itself.
These approaches can simulate the impacts of rubbing by contact with people, objects, or materials by using scuff testing processes and related quality control testers. The names of electrical and medicinal products must be clear. To change the roughness on keypads procedures like these are done. The clarity of the name is essential for pharmaceutical and medical items, and it is periodically checked using techniques like the rub test.
The scuff testers do the testing for the quality of printed or coated material on a range of surfaces. Thankfully, starting the procedure with quality control is an easy and economical process. The goal of grating items is typically the impact of the rough material on intended items or bundle structure components.
Guide To Scuff Testing
The best way to scuff testing is given below in detail.
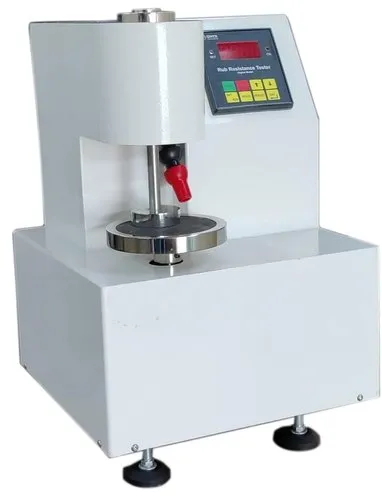
- Identify the test area where there is a mixture of different colors.
- Make use of measuring templates and draw a circle on the non-printed side of the sheet with the help of a pen.
- Use a scissor to accurately cut the test specimens on the marked line, one for the upper clamp and another for the lower clamp.
- Now uplift the lever pin to uplift the spindle to create a specific amount of gap between both the clamps, and lock it. Remove the upper sample holder and lower sample ring from the machine.
- Paste the test specimen on the upper sample holder with 3 M two-sided tape and fix the sample on the lower clamp fixture.
- Place both sample holders in their respective positions.
- Turn on the machine and set the number of counts for the test. Press the set key, and the preset value display will appear. Enter the number of counts by making use of increment/ decrement, and reset the designated key (for shifting).
- Press the start key to get out of the program mode. Long Press reset to tare set the display to zero. Press the start key to initiate the test.
- Stop the machine at about 50 rubs, and inspect the specimen for any print quality deterioration.
- If there is no sign of scuffing or scratching, continue rubbing for another 50 more rubs. Re-inspect the sample at 100 rubs, and continue testing till scuffing is visible. Inspect after every 50 rubs.
- Once significant and unacceptable print scuffing is noticed, end the test. Note the reading and retain the upper test specimen in the test report.
- If several scuffing counts are already known, then set the exact number of counts on the counter, and the machine will automatically stop at that mentioned number of counts.
- To increase the aggression of the test, increase the pressure weight by adding additional weights.
Conclusion
Scuff testing involves a variety of structures. Fortunately, there is a simple and modest way to direct it. The influence of the rough material on proposed items or bundle framework pieces is typically the objective for grating items.