Professional chocolatiers use a variety of instruments to create their products. Some might have access to the greatest ingredients, labs with state-of-the-art equipment, a specialist staff to assist them with their procedure, or labs with the best equipment.
You might want to jump right in and make things that are overly ambitious.
In any case, let’s start with the fundamentals and assume you have limited or no direct access to what the professionals do because this is the ultimate beginners tutorial.
As they say, before you can run, you must first learn to walk.
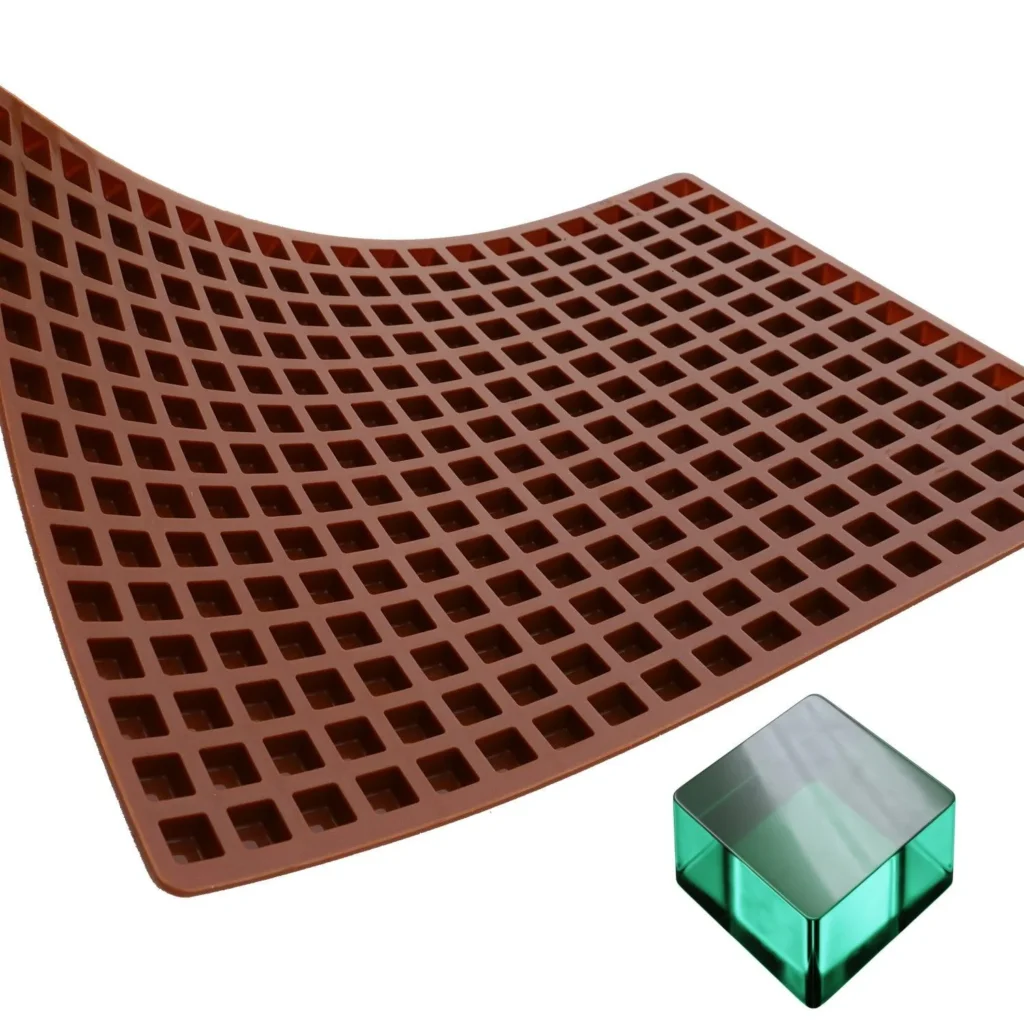
We will begin with a straightforward one-part mold for the time being. Pour the chocolate inside, wait for it to set, and then remove it.
Here are the steps to take.
Forming apparatus
A shaping tool, referred to as a buck occasionally, is the first thing you’ll need. On your plastic sheet, a vacuum-formed replica will be created using this.
Makers typically use fabrication techniques like 3D printing, CNC machining, or sculpting to build forming tools. These are topics for a different essay, therefore as this is a beginner’s guide, we won’t get into those.
We’ll use something that is almost always available or that you probably already have in your home for this lesson…
For your refrigerator, use magnets!
You’re guaranteed to find what you’re looking for because they come in so many various shapes and sizes.
For this tutorial, fruit magnets will be used. Refrigerator magnets have the additional benefit of sticking to plate mesh because they are magnetic, so there is no need to be concerned about the components moving around during cycles.
Additionally, they lack deep areas and undercuts, which are important features to take into account in shaping a tool.
Now that the machine is ready for shaping, we may go on.
Computer setup
After you’ve put them together, linked it, and turned it on, load your plastic sheet into the frame. These are of food grade and are very easy to use. There are precut sheets available in thicknesses of 0.25mm, 0.50mm, 0.75mm, and 1mm. After your plastic sheet has been loaded onto the frame, modify the settings on the LCD panel.
Numerous material presets are available, including Polystyrene, ABS, and PETG of course. While the material selection is selected, use the left or right buttons to move to the PETG setting.
The target temperature is 150 degrees Celsius, as you can see.
To prevent overheating and overstretching the plastic sheet, which results in webbing and distortion, you should reduce the temperature to approximately 130°C, in accordance with our experience.
Forming
The heaters may take longer to heat up if you are using the machine for the first time or if it has been some time since your last use. The temperature will often be reached in 5 to 6 minutes.
An alert for slow heating may occasionally appear on the LCD. This is typical during the initial heating cycle. After then, the machine will prompt you to start the heating cycle again.
There are two buttons at the bottom of the screen: YES and NO. Toggle between the corresponding options by using the left or right button. Repeat the process if it happens once more.
Another justification for reducing the PETG target temperature is the first heat cycle. The plastic is exposed for a longer period of time as the heating process goes on.
As was previously said, pay attention to how far the plastic droops from the frame as this may affect the quality of the pull by generating webbing or distorting the plastic.
You can warm the machine up before generating anything to completely eliminate this. Simply running a heat cycle without a plastic sheet will achieve this.
Equipment for multiplying
You have your square candy mold, but you soon realize that a full tray of that shape or more of it is required.
Consider that we want additional grapes but that the set of magnets we used for this guide only had two grape shapes.
Even while it can seem wasteful to fill a full page with just two tiny pieces, you can use those two. It is best to duplicate these forms. To do this, makers typically use 3D printing to produce multiple copies of a tool.