Making small objects can be tedious, difficult, and time-consuming. There are many tools in plastics manufacturing, and it is not limited to large scale only. With our best 3D printing small objects ideas, you will be able to successfully enhance your 3D model and also have your parts 3D printed without any issues. Our ultimate guide will teach you about the most major factors determining the 3D printing process. We will focus not only on manufacturing your product but also on the correct preparation of the STL files, which is essential for your 3D design to be printed correctly.
The best-quality prints don’t always come easily. Knowing your printer and your filament of choice often requires patience and some fine-tuning. If you have quality issues, we recommend that you check your setup and only start changing one thing at a time prior to actually trying a new print.
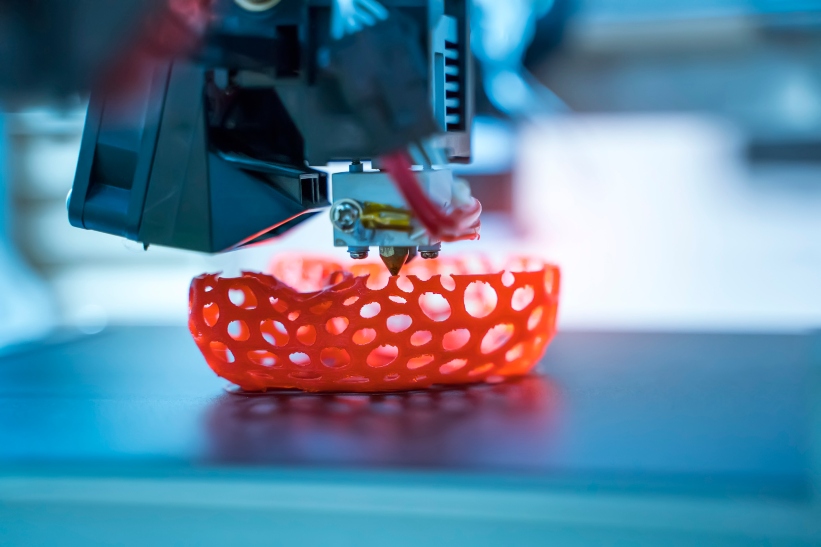
- Functional Model:
Before we talk further about 3D printing plastics, which is one of the most important factors, we need to start with how to 3D model your objects. First, you must make sure that your 3D model is accurate. You cannot have missing polygons, walls, or faces because this will create a hole in your 3D model, and we will not be able to print it. It is essential to understand that the 3D model must be realistic because all 3D designs on your computer will become a real object and it must meet all the requirements that any object is produced with other technologies.
- Leveling the bed:
The most basic way to improve 3D print quality is to ensure that the bed is perfectly level, and the nozzle is set at the optimum distance above the bed (this is known as the Z offset). To level the bed manually, you can use a sheet of paper or a feeler gauge to determine the distance between the nozzle and the bed at several points on the bed. When the (clean) nozzle is at the proper distance from the bed, it’s a bit like Goldilocks: there will be minimal resistance when the paper or gauge is pulled free but will also come back under the nozzle without force. Repeat this process two or three times to ensure accuracy.
- Temperature:
The temperature of the nozzle – or nozzle if there is more than one – directly affects the appearance of the final print. If the nozzle is too hot, it can leave strands of filament between the individual parts. When printing long pieces, high temperatures or insufficient cooling can melt earlier layers, resulting in distortion. When you plan to print a tall object, include a centimeter cube on the opposite side of the build plate in your slicer. If there are wires of filament between the structures, use a wall or oz shield structure, which is a common feature in slicer programs.
- Support:
Supports are extra parts that are added to your model to keep it stable and printable; they are later removed from your object. And that’s exactly what you need to think about: removing the support. We print with supports, however, the model must be thick sufficiently for you to remove the support system gently. If your 3D plastic design is too thin, it will easily break when removing the support.
- Building Surface:
An important part of your printer that affects the materials you can print from, and the surface of your printed objects is the build plate. Different build plates give different textures to the bottom of the print: Bedding materials such as glass, PEI, or Kapton tape leave a smooth surface, while glue-on polycarbonate sheets or painter’s tape leave a matte finish. If you are using spray or glue on the surface as an adhesive, use enough to stick to the print. Too much glue or spray can also make it difficult to remove the print. Closing it forcibly can damage the print or, if sufficient pressure is used, break, or deform the plate.
- Filament care:
Many filaments are hygroscopic, which means they love water and absorb it from their surroundings. Exposed filaments, especially ABS, nylon, and flexible materials, tend to drink moisture, resulting in problems. During the extrusion, the moist filament expands as the water turns into steam and precipitates out of the plastic. The filament cracks or bursts as it moves through the nozzle, and when viewed closely, something resembling smoke may be present.
The most important points are for you to remember about the proper preparation of your 3D model, such as checking if you are missing any structure of your model, printability of your project, and removing support, then checking which technique has the most suitable layer thickness.