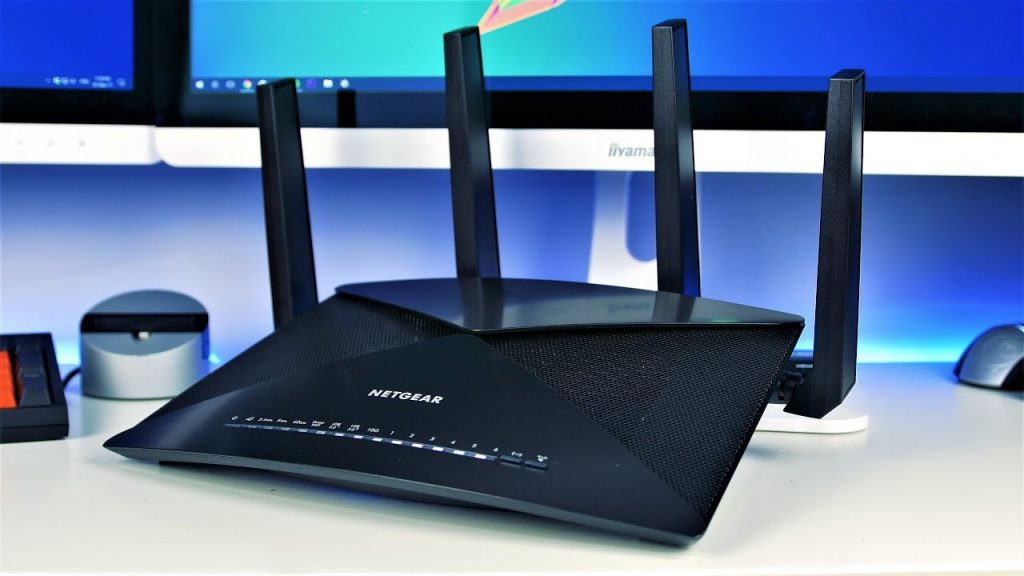
Millions prefer performing Netgear router setup to access an unlimited internet connection. Various features of Netgear routers help to improve the user’s internet experience. The AP Mode is one of them. Generally, a Netgear router operates on Router mode. But, users can create a hotspot in a local area network by setting up their routers in AP mode.
If you have also performed Netgear router setup, then you should consider configuring it in AP mode to expand the WiFi coverage in your home. In this article, we will provide you with the guidelines to install your Netgear router in AP mode. But, before we do that, let’s have a look at the prerequisites to configure the Netgear router in AP mode.
Prerequisites to Install Netgear Router in AP Mode
- A damage-free Ethernet cable to create a connection between your Netgear router and the existing modem. You can also opt for a wireless source to connect your devices.
- A web browser that is updated and free of cache, cookies, and browsing history.
- An active electrical socket to power up your Netgear wireless router.
- The default admin details of your Netgear WiFi router.
- Make sure that you have access to a blazing-fast internet connection.
Note: To confirm the internet speed, you can run a ping test on your computer. All you need to do is type ping 192.168.1.1 in the Command Prompt and press the Enter key. If the ping test responds, then you can proceed to configure your Netgear router in AP mode.
Now, without any further delay, let’s head over to the steps to install the Netgear router in AP mode.
Steps to Install Netgear Router in AP Mode
- Plug your Netgear router into an electrical outlet and press the Power button.
- The moment the power LED on your Netgear router turns solid green, grab an Ethernet cable and use it to connect your router and modem.
- Once done, switch on your PC or laptop and temporarily disable antivirus software and firewall on it to avoid technical errors while changing the Netgear router to AP mode.
- Thereafter, open a web browser and navigate to the address bar.
- Type the 192.168.0.1 IP address into it.
- Press the Enter key.
- When prompted to log in, type the default username and password of your WiFi device into the given fields.
Note: The default username and password of your Netgear router are case-sensitive. Therefore, avoid typos while entering them and consider turning the Caps Lock key on your keyboard off.
- Now, click the Log In button to reach the Netgear Genie dashboard.
- Head over to the Advanced tab and select the Advanced Setup menu.
- Click the Wireless AP option.
- Thenceforth, select the Enable AP mode option.
- Scroll down to the Choose IP Address Settings on this Access Point option.
- Select the ‘Get dynamically from the existing router’ option.
- Click Apply.
After clicking the Apply button, a new IP address, let’s say 10.0.0.1, will be assigned to your Netgear router. So, next time you log in to your Netgear router, use the new IP address.
In this way, you can change your Netgear router from Router Mode to AP Mode. Now, you can connect your WiFi client devices to the Access Point’s network and enjoy an uninterrupted internet connection.
Caution: Do not turn off your Netgear router or refresh the web browser amidst the process of configuring your WiFi device to AP mode.
Summing Up
This was all about how to install your Netgear router in AP mode. We hope that you will be able to do so in a hassle-free manner and expand the WiFi coverage in your home. If this article helped you in changing the operation mode of your Netgear router, do not forget to leave a word of appreciation in the comment section.
